Friday, January 28, 2011

tortilla chips

These are pretty easy. Open a bag of Tostitos, pour them in basket, and you're done.

kidding, kidding. I had some left-over salsa the other day, and I was drooling at the mere thought of eating it. Oh, how I love salsa. I go into the cupboard and no chips. Drat the luck! I did have some corn tortillas. It just so happened that the day before, I saw a quick recipe for making chips using tortillas, cooking spray, and a cookie sheet. Fancy that! I thought I'd give it a try. They were pretty good. Not the best chips by any stretch of the imagination. However, if you're desperate for salsa and have no other chips, these'll do just fine.
Tortilla Chips:

corn tortillas
cooking spray
salt

Preheat the oven to 350.

Cut the tortillas into triangles.

Place them in an even layer on a cookie sheet. It's a good thing I played Tetris constantly as a kid. I had some shape-shifting going on to fit them all.


Spray them with cooking spray.


Bake for 7-10 minutes. Check them after 7 minutes. If they are still floppy, cook another minute or two. Watch them closely, or they will brown too quickly, as mine did here. They were a bit overdone but still tasty.
Sprinkle them with salt, chili powder, seasoned salt, or whatever else you like.

Put them in a bowl and serve.

This is a total cop-out post. It's been a busy week. :)

Thursday, January 27, 2011

Garlic-Studded Pork Tenderloin with Mojo

When I saw this recipe with the word "mojo," I couldn't help but think of Austin Powers. When I was in college, I watched those movies more than any human should. Luckily, this recipe does not contain any of Austin's mojo. Thank my lucky stars. Mojo is a Cuban garlic, oil, and cilantro mixture that is put on top of meat. Where has this been my whole life? I stumbled upon this recipe in another cookbook I got from the library entitled "The Best American Recipes: 2005-2006." When I told my husband that I was making pork tenderloin for dinner, his face fell slightly. He's not a big fan of pork. He's a beef-eater, and I am, too. Well, upon tasting this pork, he exclaimed, "I might actually like this better than beef." I replied, "uyhakbadgoiah;hska" since my mouth was full but I couldn't believe my ears. The problem with pork is that more often that not, it is overcooked. When pork gets overcooked, it is too dry and gray. This pork was moist (don't you just love that word) and flavorful. Thank Culinarionius (see fudgy brownie post) that I found this recipe. It's my new favorite pork recipe and will be made time and time again.
Garlic-Studded (need I say more) Pork Tenderloin with Mojo
source: The Best American Recipes 2005-2006 original recipe by Sara Perry from "Everything Tastes Better with Garlic" Sara, I couldn't agree more...

Mojo (pronounced mo-ho):
2 1/2 T minced garlic
1/2 t firmly packed grated lime zest
3 T fresh lime juice
1/4 t firmly packed orange zest
2 T fresh orange juice
3/4 t cumin
1/2 t salt
1/2 olive oil
freshly ground black pepper
1 T fresh cilantro, minced

Pork:
1 large pork tenderloin, about 2 pounds
2 t oregano
1/2 t cumin
1/2 t salt
1/2 t ground pepper
2-3 garlic cloves, minced

Let me start by saying that I wasn't paying attention to the recipe as I was rushing out the door to administer a fifth grade writing exam, so I didn't do the recipe the right way. I'll tell you how I made it since it turned out so amazing.

Combine the mojo ingredients. Put the pork tenderloin in the mojo and flip to coat the pork. Let it sit in the fridge until you're ready to cook it. Mine was in the fridge from about 9:30-4:30.

Take it out and realize that you weren't supposed to marinade the pork in the mojo. Wipe off the majority of it with a paper towel. I did do this, but I think the mojo-marinated pork was awesome- still wipe it off though. At the high heat, the massive amounts of garlic will set off that blasted smoke detector.

Preheat the oven to 450.

Prepare the rub for the pork. Combine the oregano, cumin, salt, and pepper in a bowl.

Rub it on the pork.


Cut some slits in the pork.


Stuff the slits with garlic. The original recipe used slits of garlic from a clove of garlic, but I was all out of cloves, so minced had to do.

Put the pork on a roasting pan and cook for 25 minutes.

Prepare some more mojo. Unless you prefer to have salmonella sauce to go over your pork once it comes out. Trust me though... You're going to want to have some fresh mojo to go over your pork. It is so delicious.

Now, this picture below is mainly to show off the ultimate juicer. Who needs a Juice Tiger to do a Garth Brooks' Juice Diet (watch "So I Married an Axe Murderer" for that reference) when there is this handy juicer. It is amazing! Every last ounce of juice comes out of the citrus. Once the mojo is made, put it aside until the pork is ready. You'll want this room temperature.
When the pork comes out, stick a thermometer through the side into the thickest part of the meat. The temperature gauge should read 140-145.

Let it sit 5 minutes longer.
Slice it. Just so you know- the pork will be slightly pink in the middle. That's fine! It's better that the pork be slightly undercooked and slightly pink than overcooked and the color of my late grandma's grey hair. You'll be okay. Drizzle the mojo over the pork on your plate. Devour.
The only thing I would do differently is cook this on a charcoal grill. In a month or two, this meat may just fall under the "grilled goodness" category. Correction- this will fall under that category.
My husband's one word to describe this pork recipe: perfection

Fudgy brownies

Not to diss on Greece or anything, but I think that they are missing a God from their mythology. I think there was a recipe God named Culinarionius. He smiles from above sitting on a throne of stainless-steel pots wearing a bright red apron with a poodle on it and invokes the ability to find good recipes upon people that have the intention of sharing delightful food with others. Now, this Culinarionious has been good to me lately. I have hit the jackpot of delicious recipes lately. And, by the way, if I find a bright red apron with a poodle on it sitting on my doorstep anytime, I think I just might freak out. Back to the recipe- these brownies! Oh. My. Goodness. They are incredible. They aren't fudge-like, but they are fudgy. They are slightly cakey but more chocolatey. Just go make them. Culinarionius helps me find recipes. Describing them... that skill must come from another long lost Greek God.
Fudgy Brownies:
source: King Arthur Flour Cookie Companion Cookbook (an awesome book I checked out at the library)

3/4 c butter (1 and 1/2 stick)
2 c sugar
1 c cocoa
1 t salt
1/2 t baking powder
1 T vanilla
3 large eggs
1 c flour
1 c chopped nuts (optional)
1 c chocolate chips (optional- but honestly- who doesn't want chocolate chips in brownies?)

Preheat the oven to 325 and lightly grease a 9x13 pan.

Melt the butter in a saucepan over low heat.


Once the butter is melted, add the sugar. The two lovely cups of sugar. Stir it until the sugar is mixed in. Cook this over medium-low heat for about five minutes. You want it hot but not bubbling. Some of the sugar will begin to melt. The mixture will become shiny and any passerbyers will say, "Wow. That butter-sugar mixture is starting to look like a shimmery sea of butter at sunset."
Once that is heated, add the cocoa, salt, baking powder, and vanilla. And, in case you were wondering, 1 tablespoon is correct. That's more vanilla than I am used to seeing for sure. Stir all that in until incorporated.

Drop the eggs in, one at a time. Whisk to combine each one.
Finally, add the flour. A whisk didn't work quite so well, so use a wooden spoon or something to stir this up.

Add the chocolate chips, if you are human. If you're a robot or some kind of extraterrestrial, you can go ahead and leave the chocolate chips out. Pour the mixture into a pan.
Bake for 30-33 minutes. I cooked mine for about 32 minutes. When you poke the middle of the pan with a toothpick, it should come out clean or lightly covered with crumbs. Let them cool. Now, in my house, cooling means about two minutes out of the oven because we can't keep our hands off of these things after we have been smelling chocolate baking in the oven for the past 30 minutes. They are really, really good warm out of the oven.
Now, this picture down here was not a mistake and it wasn't taken by one of my kids. I took it because as I dished up a brownie for myself on a paper towel, a little thin flake came off the top of the brownie. Sometimes I do boxed brownie mixes, and I love that little layer. Never have I found a homemade recipe that does that... until now. Woohoo! There's just something about it.

Here is another close-up of the brownies. Look at the chocolatey goodness under that thin, flaky crust. Good golly, Miss molly. Get out the milk!

Tuesday, January 25, 2011

Peanut Butter Cookies

I hope your thighs find it in their tissue to forgive me. My last three posts have been pretty darn high-sugar, high-calorie, high-fat, and high-happiness. I have had a sweet tooth lately that cannot be tamed. I feel like that horse Brego that can't be tamed in the extended Two Towers: Lord of the Rings movie. Maybe if Aragorn will come whisper Elvish to me like he did to tame that horse, I can tame this sweet tooth. Not likely though.

As I take my last bite of dinner I think, "oooh! What am I going to make for dessert- cookies, brownies, cake, pie, mousse, chocolate souffle with rasperry mint compote?" The possibilities are endless. However, I was flipping through my new America's Test Kitchen cookbook and saw their peanut butter cookie recipe. I thought I'd give it a whirl. Dude! It is awesome. I have another peanut butter oatmeal cookie post that is delicious, but it can't hold a candle to this one! Shoot-It couldn't even hold a 1 million candle power spotlight to these bad boys. I thought they were the perfect peanut butter cookie. Bust out your "Buns of Steel" DVDs because you're going to need them after eating these irresistable bites of heaven.
Peanut Butter Cookies:
source: America's Test Kitchen Family Cookbook

2 1/2 c flour
1 t salt
1/2 t baking soda
1/2 t baking powder
2 sticks unsalted butter, softened
1 c packed light brown sugar
1 c sugar
1 c extra crunchy peanut butter
2 t vanilla
2 large eggs
1 c peanuts, ground fine

Preheat oven to 350 degrees.

Put the flour, salt, baking soda, and baking powder in a bowl and whisk to combine.

Plop the butter and sugars in a mixing bowl and beat on medium speed for 3 to 6 minutes. It should lighten in color and be fluffy.
Add in the peanut butter and mix for 30 seconds. Add the vanilla. Mix 'er up. Add the eggs, one at a time- be sure to mix well after each one.
Reduce the mixer to low and add the flour mixture. Mix for 30 seconds. If it is one second longer, the entire mixture will self-destruct and leave a blue-green residue on your kitchen cabinets that won't come off for 37 days. :)
Place the peanuts in the food processor and pulse until ground. My food processor doesn't have the skills to be as finely chopped as the recipe probably hopes, but this added a nice crunch to the cookie.

Add the chopped peanuts into the dough and mix to incorporate. This recipe only makes two dozen, so you will be dealing with a large chunk of dough for each cookie. No skimping! I had scooped mine, and I had some left-over dough, so I actually added to the cookies I had instead of making another 6 or so cookies.
It comes out to be 3-4 T of dough per cookie. Once you have the chunks of dough, roll them into a ballish shape. Place them on a parchment lined baking sheet.

Use the tines of the fork to make a crosshatch design on them. Press the tines in one direction...
then the other.
Here's the finished cookie before baking it. Notice that it is still very thick. You don't want to smash the cookies down. If you're baking these while angry, don't take anything out on the cookies. They did nothing to you. Keep them thick.
Bake them for 10-12 minutes. They should turn light brown and start to deflate.


As you can see in the picture above, they really don't get too brown. Let them cool on the cookie sheet for ten more minutes. Try to resist! I think the ten extra minutes lets them cook a little longer without getting to overdone in the oven.
Well, what I think really happens is a microscopic mythical creature flies around the cookies and sprinkles some love, happiness, and uh, optimism on the cookies. It must take ten minutes for that to work. You don't want to prevent optimistic loving happiness, do you? :)
I can't wait to make these again. They really were amazing. I think I actually shed a tear when the last one was eaten.

Sunday, January 23, 2011

Chocolate Lava Muffins

Let me start off by saying that these just might be my new favorite indulgence. I have made something similar before, but the last recipe was not nearly as good as this.

I was lying in bed last night after devouring one, I mean, two of these, and I thought... You know, if people that didn't get along just sat down and ate one of these, all of their problems would be solved. Some examples:

Batman and the Joker
The rivaling news crews on Anchorman
Sleeping Beauty and Maleficent
Gandalf and Saruman
Harry Potter and Voldemort
The North and the South
Zoolander and Hansel
Neo and Agent Smith
Tom and Jerry

The list goes on and one. There is no problem in the world that these chocolate lava muffins can't solve. On the other hand, if everyone shared these muffins with their nemesis, we wouldn't have awesome movies or history books. I could just see the history books, "Since the world began, time has been peaceful. All nations, races, and people of all economic status sit around and happily eat chocolate lava muffins. The End." I think I would have passed a few more history tests if that were the case.

Back to these muffins... They are exquisite, marvelous, glorious, phenomenal, decadent, and sinfully delicious. My writing skills aren't good enough to describe them in all their gloriousness. You'll just have to try them out for yourself to witness the bonds of love that are created between you and anyone that you give this to.

Chocolate Lava Muffins
Source: Good Eats: The Early Years by Alton Brown also here

8 oz semi-sweet chocolate
4 ounces butter (1 stick)
1/2 t vanilla
1/2 c sugar
3 T flour
2 T cocoa
1/4 t salt
4 eggs

Get a large pot and fill it with 1 inch of water. Turn heat to medium and bring the water to a simmer.

Place the chocolate and butter in the bowl of your stand mixer. *I didn't have enough semi-sweet chocolate, so I had to use one ounce of milk chocolate. It turned out fine.


Place it over the pot of boiling water. Mine has a handle on the side, so it was easy to take off. Stir occasionally with a rubber spatula.

While it is melting, place the flour, sugar, cocoa, and salt in a fine mesh strainer. Tap on the side or shake it until it has all gone onto a plate.

You will have a very fine mixture of powdery stuff on the plate.


By now, the chocolate and butter should have made a nice, creamy chocolaty mixture.


Take the bowl off the pot and place it on your mixer. If you just melted the chocolate in a microwave or something, scrape it into the bowl of your mixer. Add the eggs, one at a time. Make sure it is fully incorporated before you add the next egg.


Slowly, add the sifted flour mixture into the chocolate.

Turn you mixer onto medium-high and let it run for 5 minutes . Notice how the mixture here is a dark brown. Let's observe the next picture.

Ooooh! Now, it's light brown and fluffy. Voila! Now... stick it all in the fridge for 30 minutes. Don't skip this part, or you won't have the lava center. You'll just have a chocolate muffin, which would still be delicious but would not invoke world peace.


When the 30 minutes is almost up, preheat your oven to 375. Prepare the muffin pan as well. Put a plastic bag on you hand, and put a little bit of butter on it. Coat the muffin spots with butter.

Sprinkle some cocoa in each of the holes.

Tap the sides of the pan to spread the cocoa around. Tip the pan upside down to knock out any excess cocoa.

Use a quick-release cookie scooper or an ice cream scooper to fill the muffin cups.

Bake for 10-11 minutes.
One important note- These will not be done in the center. Leave your toothpicks in the drawer. You don't want the center to be done. The outside of these will be very spongy and soft. The inside will be giggly- kind of like my thighs will be after eating these every night for the rest of my life.

Removing them can be a little tricky. I carefully ran a butter knife around the edge of each muffin. Then, I used a spoon to pry it up a little. I used another spoon to slide under and pull it out. You might have some casualties. I would have taken a picture of this process, but I don't have three hands.
Put one or two in a bowl with a scoop or two of ice cream. Currently, I am not watching my weight, so I did double of each. Serve with a smile and watch all worries, stress, and disappointment melt away.

Saturday, January 22, 2011

Cinnamon Rolls with Maple Frosting

Okay. Drop what you're doing and make these cinnamon rolls. Now. I stumbled upon these on the Pioneer Woman's website. Bless that woman! These are phenomenal. Now, I'm sure there are ladies everywhere that claim to have the best cinnamon roll ever, and I'm sure that they do! All I'm saying is that these are really, really good. My husband, who sometimes has a tough time eating cinnamon rolls because they are too "starchy" was eating these and said, "I am thoroughly enjoying these right now." Wow! That's really saying something.

The original recipe makes about 12 pans of rolls! If you have a family of 12, you'll be set for the morning. ;) I honestly could have taken a pan (all mission:impossible-like, doing military rolls and everything) to hide out in my room to eat the entire pan. I think my kids would have taken a pan each and done the same thing. Me: Here is a cinnamon roll for each of you! Now, I'm going to go respond to an e-mail. 30 seconds later... Me: How do you like the- Where did they go? I glanced over at the kids at there was frosting all over their faces and their plate was all but licked clean. This is definitely a recipe to try. I halved the recipe here, and it made 5 pans of rolls. It can be anywhere from 4-6 pans, depending on how big you cut the rolls.
Cinnamon Rolls with Maple Frosting:
source: thepioneerwoman.com

Ingredients:
2 c milk
1/2 c vegetable oil
1/2 c sugar
1 pkg yeast (2 1/4 t)
4 c + 1/2 c flour, divided
1/2 heaping t baking powder
1/2 scant t baking soda
1/2 heaping T of salt
2 sticks melted butter
1 c sugar
cinnamon

frosting:
1/2 bag powdered sugar
1 t maple flavoring
1/4 c milk
2 T melted butter
dash of salt

Put the milk, vegetable oil, and sugar in a large pot over medium heat. Watch it closely, and once it is almost to a boil, turn off the heat. Cool for 45 minutes in the pot.
After the 45 minutes, sprinkle in the yeast. Stir it and let it sit for 1 minute. You will start to see the yeast turn frothy and bubbly in the middle. Add the four cups of flour. Mix it together with a wooden spoon. Cover it and let it rise for an hour.
Before....
After... The difference isn't that noticeable in the picture, but it doesn't double in size.
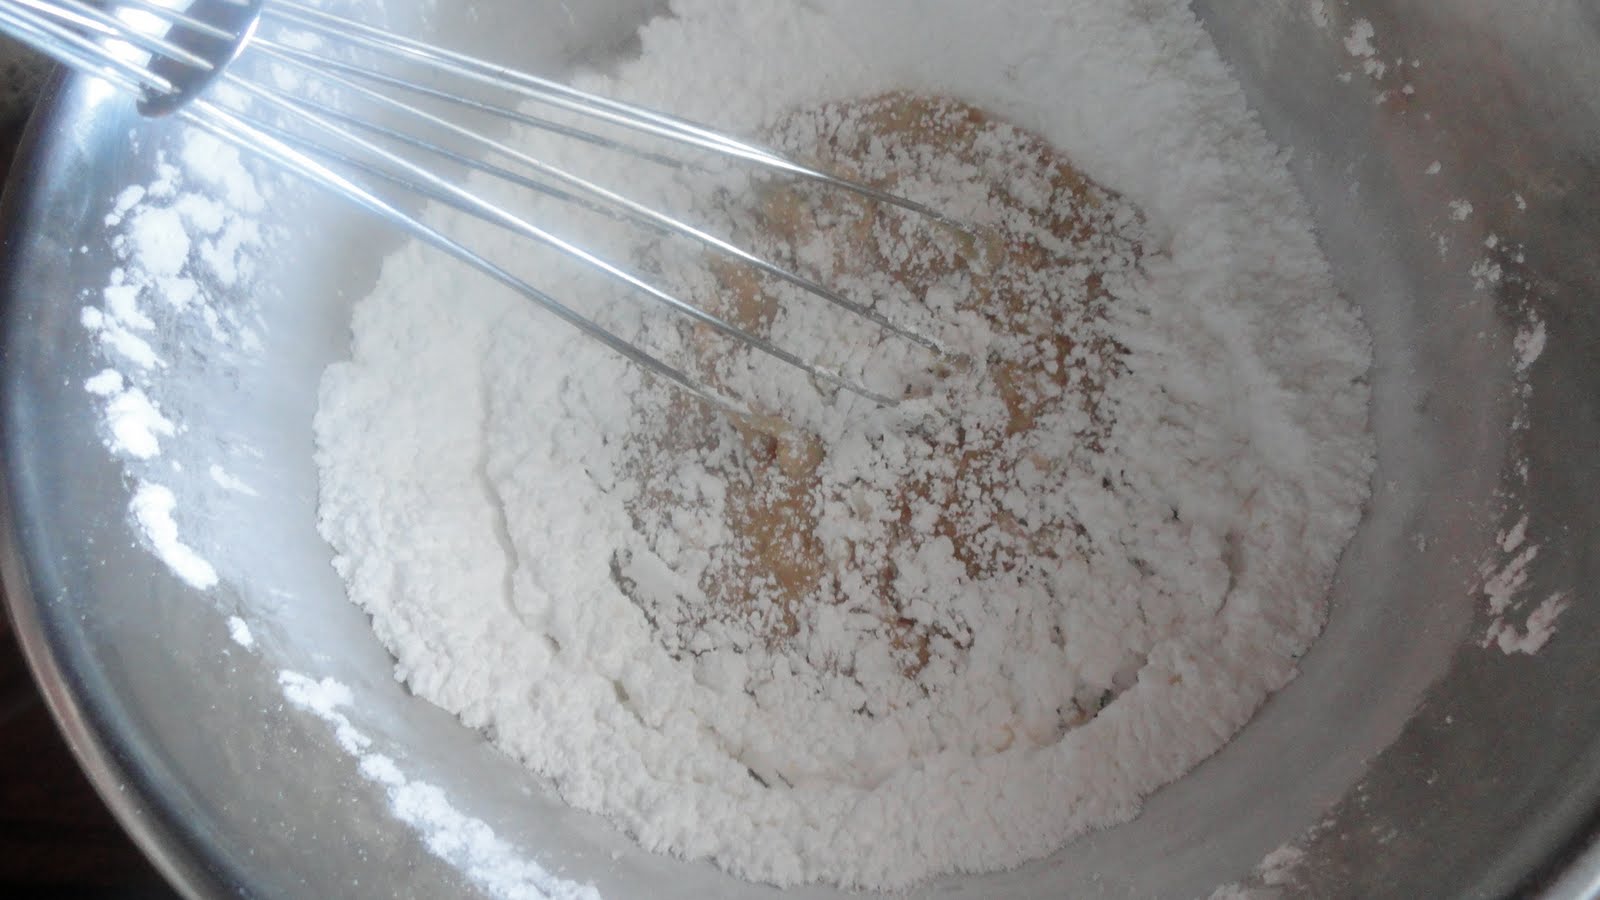
Take off the lid and pour in the remaining 1/2 c flour, the baking powder, and the baking soda. A heaping teaspoon is just what it sounds like... a heaping scoop. A scant teaspoon is not quite full.
See heaping?
Mix up the dough after you've added those things and you can either start making the rolls now or refrigerate the dough and wait until morning.
I waited until morning, and it looked wonderful.
Roll the dough out onto a floured surface to a long rectangle. You can see here that it is more than double the length of the rolling pin. It is some of the softest dough ever, too. It was so easy to handle and roll out.
Get your melted butter and pour it onto the dough. I used all but about 3 T of it. I did reserve that for the remainder of the recipe though.
Sprinkle the 1/2 c sugar onto the dough. It seems like a lot, but lay it on there! The butter and the sugar are what makes this recipe so good.
Spread the sugar out evenly across the dough. The right side is spread out here, but the left, clearly, is not. :)
Do a generous sprinkling of sinnamon (haha) over the sugar. Sometimes think devouring these things should be a sin.
Roll up the dough as tightly as you can without stretching it.

Look at the size of this thing! It is forever long! Nice anaconda rolls. Cut the dough into 3/4-1 inch slices. Prepare the round pans by spreading some of the left over melted butter in the bottom of the pan. You can spread it around with a plastic bag.
Place seven rolls in each pan.
Place them in a warm place to rise for 30 minutes or until double in size. Once they are double, bake at 375 for 14-18 minutes.

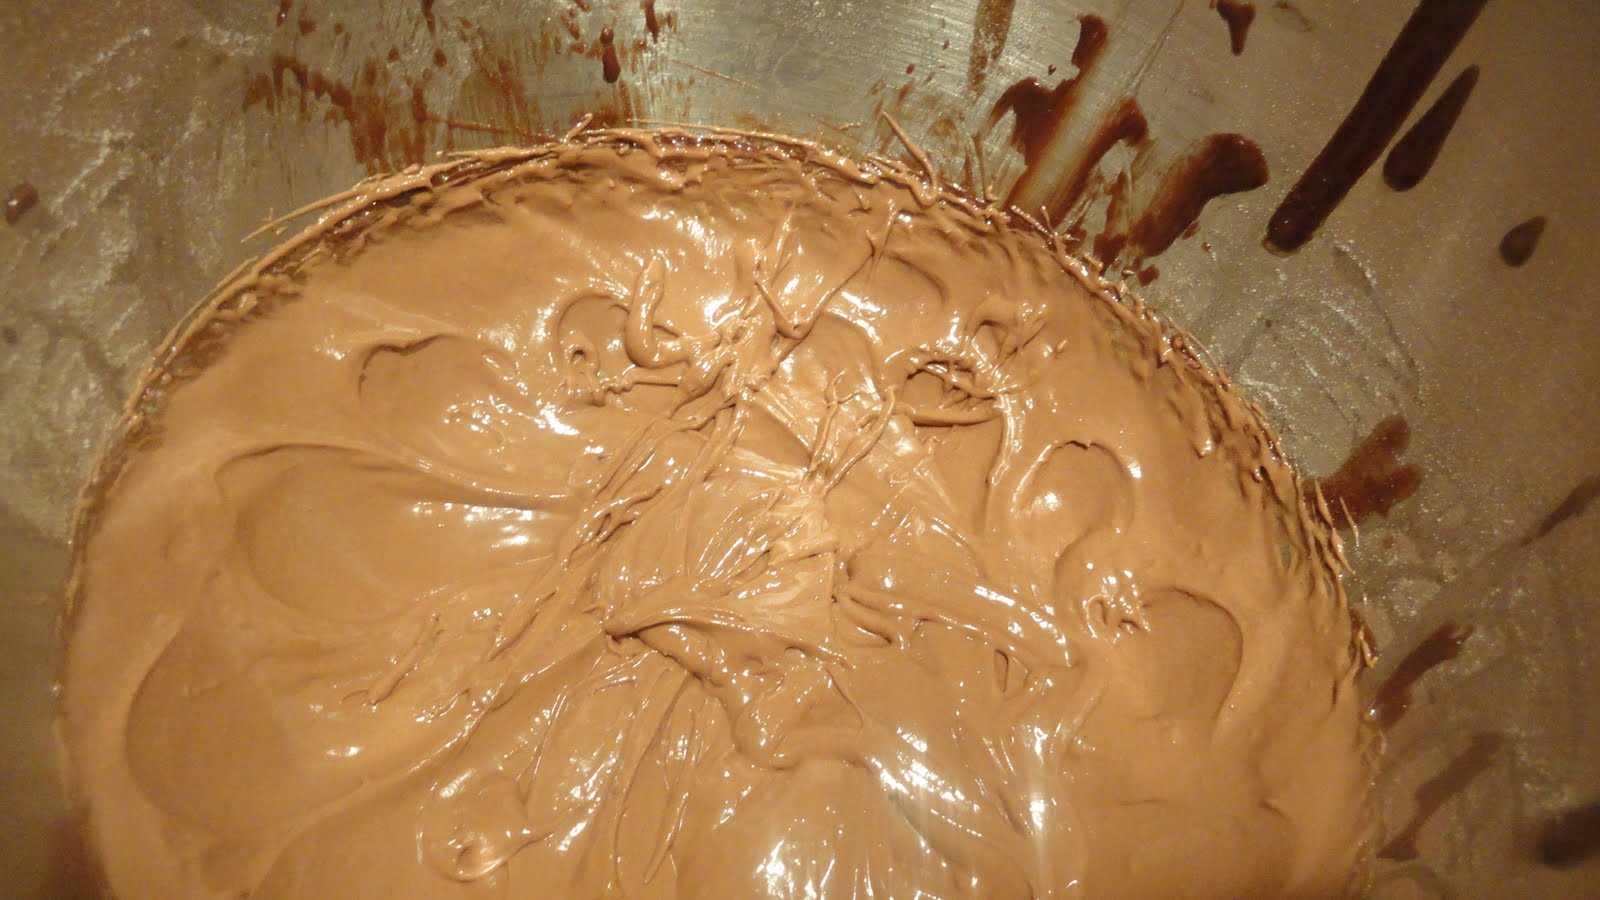
Combine the frosting ingredients and whisk together until smooth.
It's some thick frosting! I actually added a tad bit more milk to the recipe because the original one called for a little coffee in the frosting, and I don't drink coffee.
When they come out, they will be golden, brown, and delicious looking. Do you see that glow? That's not from a nearby kitchen window. It's the light of heaven shining down on these glorious rolls.
While they are hot, pour some frosting on top of them. Drench those puppies! The frosting should cover 'em all over! Cover them with foil and deliver to soon-to-be-very-ecstatic neighbors or eat them all yourself. However, if you choose the second option, you may need to go buy a pair of bigger pants. You can't say I didn't warn you.